
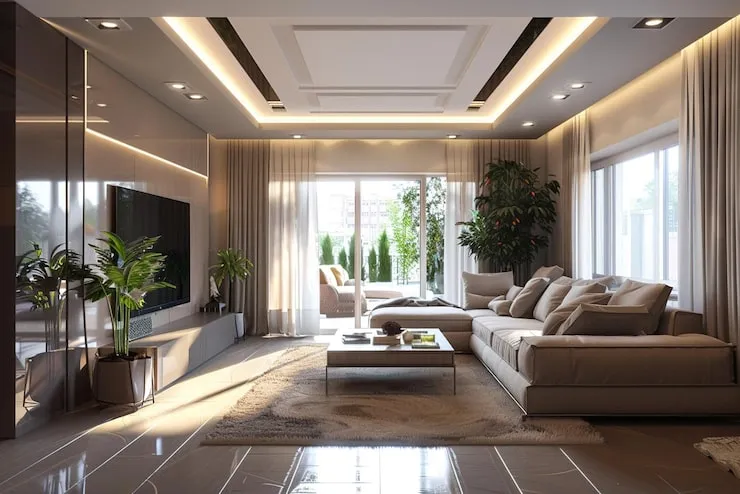
A photograph is one of the easiest ways to explain an interior problem. It shows the awkward window, the flooring that has to stay, the low ceiling, and the piece of furniture the client refuses to part with. That makes a room render from photo especially useful at the beginning of a redesign. Instead of describing a completely new room in the abstract, the designer can test ideas against a familiar view and keep the conversation connected to what is actually there.
The photograph is not perfect information, though. Phone cameras stretch rooms, hide dimensions, and make some surfaces look lighter or darker than they are. A visual redesign based on a photo should therefore be treated as a concept study rather than a measured proposal. It can answer questions about style, color, material, and general atmosphere. It should not be used to decide whether a 2.4-meter sofa fits between two walls.
Take a Better Starting Photo
The quality of the first image affects everything that comes after it. A useful photograph is usually taken from a natural standing position, with the camera level and as little extreme wide-angle distortion as possible. If the room is very dark, it is better to add light than to rely on heavy digital brightening later. Moving loose clutter out of the frame also helps, although fixed features should stay visible if they matter to the redesign.
People who want to redesign room photo references often focus on the transformation and forget the input. Yet a clear photograph makes it easier to judge what has changed and what has been invented. Taking a few views from different corners can also prevent the design from becoming overly dependent on one flattering angle.
Decide What Must Stay
A renovation rarely starts with a blank room. Floors may be too expensive to replace. Radiators, windows, and doors may be fixed. A landlord may not allow changes to certain surfaces. Before generating visual options, it helps to make a short “must stay” list. That protects the redesign from becoming exciting but irrelevant.
The same list can include things the client wants to keep for personal reasons. An inherited dining table or a large artwork may not fit the new aesthetic perfectly, but the design still has to make room for it. Keeping those elements visible in the visual study often leads to more realistic and more personal solutions than starting from an idealized empty box.
Test One Layer at a Time
Photo-based redesign becomes confusing when every surface and object changes in one step. A more useful approach is layered. First test the wall and floor relationship. Then look at major furniture. After that, explore lighting or decorative detail. This makes it easier to understand which change is improving the room and which one is simply new.
Layering also reduces the risk of approving something accidentally. A client may love the general mood of an image but dislike the furniture. If both were changed at once, that preference can be hard to interpret. Keeping some variables stable creates a clearer conversation and a more reliable path from visual experiment to actual design decisions.
Check the Result Against Real Dimensions
A transformed photograph can make furniture appear to fit because the software is working visually rather than from a measured floor plan. Before anything is purchased, the team should return to dimensions. Check circulation, door swings, cabinet depths, table clearances, and the physical size of the items being considered. This is the point where the concept meets the room.
dsgnr can help with the visual side by letting users work from photos and explore different room treatments, but it does not remove the need for measured planning. The two methods are complementary. The photo study helps people understand the direction. The drawing or survey confirms that the direction can be made real.
Use the Photo to Manage Expectations
There is a practical advantage to showing a redesign in the client’s own room: it feels less abstract. Clients can recognize the windows, floor, ceiling, and view outside. That familiarity often makes feedback more specific. Instead of saying, “I do not know if I like modern interiors,” they may say, “I like the lighter walls, but I want to keep the room warmer than this.”
It can also make the limits easier to discuss. If the design depends on removing a wall or replacing a window, a photo-based visual should not quietly pretend those changes are simple. The designer can explain which parts are aesthetic, which require building work, and which still need technical investigation. The result is more useful because it supports an honest conversation, not just an attractive before-and-after moment.
Keep a Before Image Beside the Proposal
Before-and-after comparisons can be useful for more than marketing. Keeping the original photograph beside a redesign study makes it easier to see what the proposal has actually changed. Did the new scheme solve the dark corner, or merely brighten the whole image? Is the room calmer because of the material choices, or because clutter was removed? Looking at both versions together helps the team separate genuine design improvements from visual presentation effects.
It also gives the client a useful reality check. Existing features that remain visible in both images are easier to understand, while proposed changes become obvious. That can lead to better questions about cost and scope. A dramatic transformation may still be the right choice, but the client should know which parts require paint and furniture and which parts require demolition, electrical work, or new joinery.
Conclusion
Starting from a photograph is a practical way to explore an interior redesign because the existing room stays present in the conversation. It is especially helpful for testing color, materials, furnishing style, and overall mood before a client commits to a direction. The image gives people something familiar to react to, which can make early feedback much clearer.
The method works best when its limits are respected. Take a sensible starting photo, keep fixed conditions visible, make changes in layers, and verify important decisions against real measurements. Used that way, photo-based visualization can shorten the distance between “What if we changed this?” and a design direction that is worth developing properly.